Working with git stash push -m
If you ever need to store your git stash by a specific message so it's easily referenced, you can do so by using git stash push -m "message goes here".
This allows you easily see which stash # has the code edits you want to bring back.
To try this out, go ahead and start in a clean folder with a test file test.js, make a single change, and commit it.
const one = "Edit 1"Make sure you've initiated your git repository inside your folder first.
git initOnce you save your file, go ahead and add your changes to git.
git status
git add test.js
git commit -m "Added first edit"
Now if you run a git log you should be able to see your first commit.
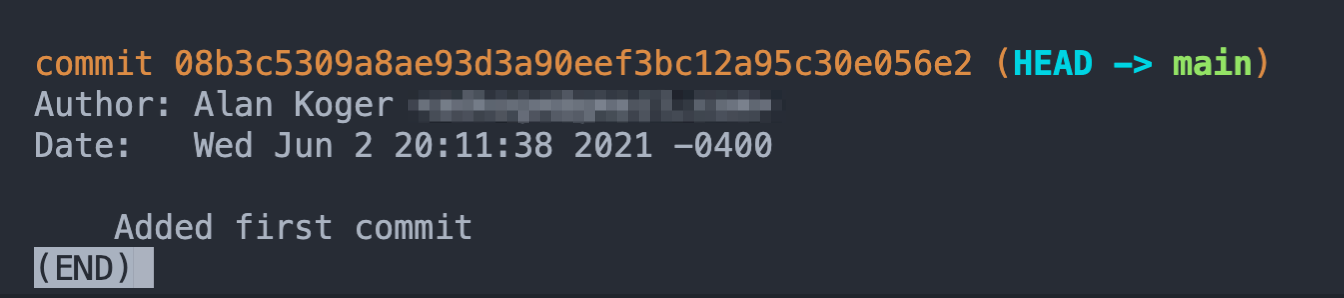
You should see the "Added first edit" message above. Next you'll want to make an edit that you'll then stash.
In your test.js file go ahead and add a second edit.
const one = "Edit 1"

const two = "Edit 2"
This time, we won't actually commit our change but we'll stash it instead.
git stashThis will move our "Edit 2" to the stash stack, and you'll no longer see it in your file.
const one = "Edit 1"Then run `git stash list`

You'll see your stash with the previous commit message.
Now if you add another edit and stash it, you'll see the same message but with a different stash number.
const one = "Edit 1"

const three = "Edit 3"
git stashconst one = "Edit 1"
But you'll notice that you now have the same message for a second item that has been stashed. Run git stash list and see your stash list.
git stash list
Now this isn't very helpful when you're trying to figure out which changes you want to bring back is it?
This is where git stash push -m comes into play.
Let's pop off the last item from the stash to see what changes there are.
git stash popYou'll see that our edit 3 is back.
const one = "Edit 1"

const three = "Edit 3"
If you check your stash list (git stash list) you'll see that it removed one of the stashed items (i.e. the one we popped).

Now let's go ahead and run our stash command with the message added.
git stash push -m "Edit 3"You'll see that edit 3 is removed from our file.
const one = "Edit 1"
Now let's check your stash list again, and you should see the message you added to your stash this time.
git stash list
Now you see your Edit 3 message that you originally added. This makes it extremely easy to add that specific stash back to your code!
All you have to do is run git stash pop stash@{#} of the stashed item with the message you want.
In our example you would just run git stash pop stash@{0} to get that third edit back.
git stash pop stash@{0}Your file should now have your edit three back in it.
const one = "Edit 1"

const three = "Edit 3"
That's it!
But what about pop vs apply?
The primary difference between using pop and apply is that pop removes it from the stack, whereas apply keeps those changes in the stash stack.
So if you want to keep the stash in the stack for future access, use git stash apply.
If you want to remove it from the stack, use git stash pop.